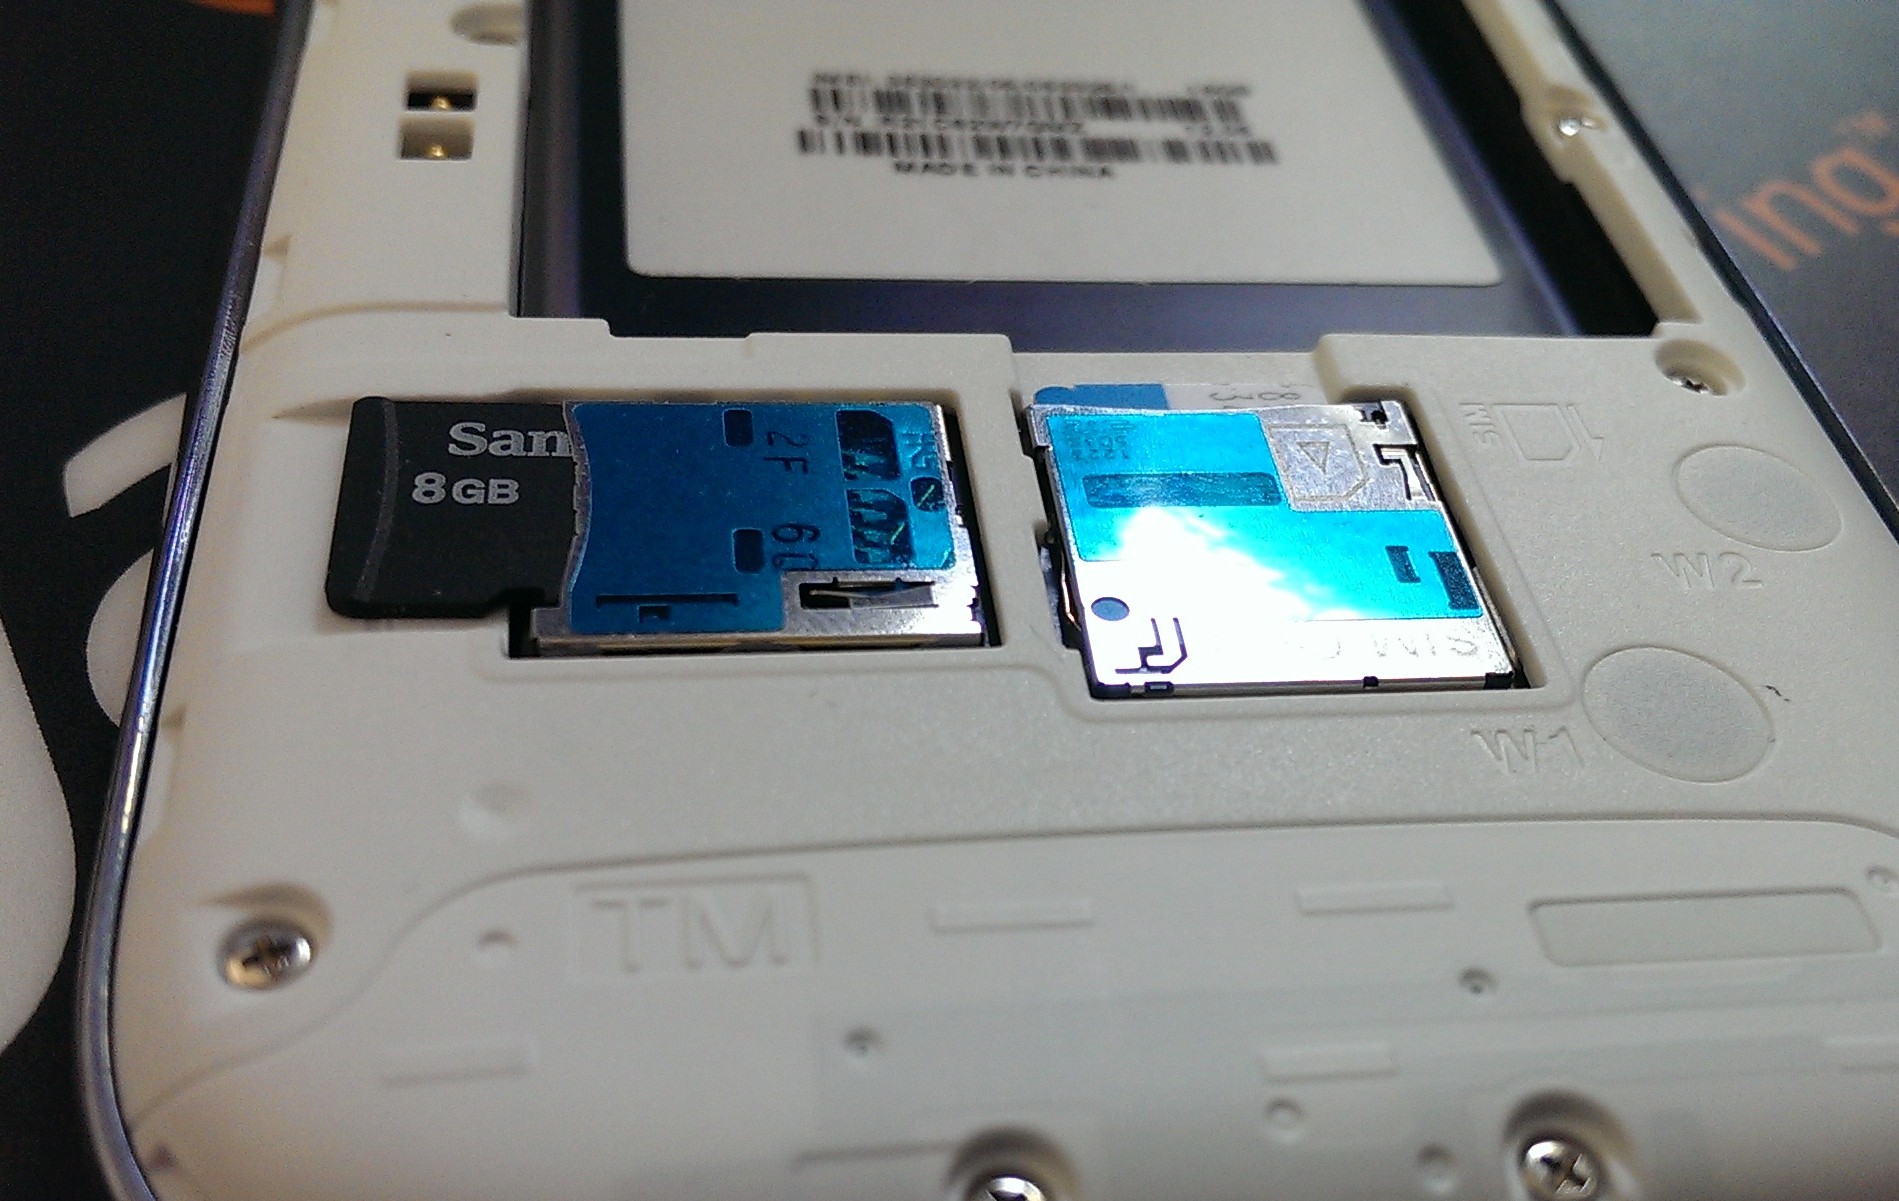
A MicroSD card is a tiny memory-storage card used in cameras, smartphones, and GPS devices. There are different ways to back up and format a memory card. This guide will show you how to back up and format micro SD card Android for your Galaxy smartphone.
The good thing about removable storage is that you can easily move all your files to your new handset via the microSD card.
Backing Up Your microSD Card
When you format your memory card, you’re going to lose all of the data it contains. So be sure to back up your data! I recommend that Android users should periodically back up their microSD cards just in case of memory loss, accidental damage, or phone loss/theft.
- The first thing you will need is a microSD card reader.
- There will be many options available from retailers such as Amazon, Staples, and Best Buy. I have always liked SanDisk brand readers, but feel free to get whatever brand you like.
- Insert the microSD card into the reader as per the instructions that accompany your card reader.
- Next, plug the reader into the USB port on your Mac or PC. Once the computer has detected the reader, a folder containing all of your card data should show up onscreen.
- At this point, create a folder on your desktop and give it a name (right-click>new folder).
- Now copy the contents of the microSD card to your new desktop folder by dragging the folder or by right-clicking (copy and paste) to move the data over to your computer; this process can take up to 10 minutes, depending on the size of your memory card and the speed of your computer.
- Once this step is completed, make sure all the data is there by going into the new folder and making sure the data matches up.
Formatting Your microSD Card
Now that the data has been backed up, we can move on to formatting the microSD card.
Formatting is not necessary, as the card is staying with you. If you chose to mail the microSD card in with the phone, I highly recommend formatting your card. Remember that Gazelle does not offer additional value for microSD cards. If you will be using a microSD card on your next phone, I would advise against formatting it. Just pop your old card into your new phone and all your data should appear. If you do choose to format the card, you can do this directly from the phone, or from the computer via the reader.
Formatting with reader (PC): Install the microSD card into the reader (we recommend a SanDisk reader) and plug into a USB port. Doubleclick My Computer. You should see the icon for the microSD card appear under Drives. Right-click the drive and select Quick Format. This will wipe all the data from the card.
Formatting with reader (Mac): Install the microSD card into the reader and plug the reader into a USB port. Next, go to your applications folder. From there find Utilities. Inside Utilities you will click Disk Utility. Select the microSD drive on the left-side window and click Erase.
Formatting with your phone (Android): With the micro SD card installed in the phone, head to the settings menu. From the settings menu, scroll down to select Storage. At the bottom of the storage menu you should see an option to Erase SD Card. Once you select Erase SD Card a confirmation option should appear to erase the card. The data erasure is permanent, so make sure your data is backed up before completing the format.
To reformat SD card for the Samsung Galaxy S7, follow these simple instructions:
- From the start screen, open the menu and then the settings.
- Scroll down to “memory” and select menu.
- Proceed to SD card
- Select the Format option.
Now your memory card for the Samsung Galaxy S7 is formatted and good to go. It should work flawlessly. If it doesn’t, send us your feedback!


Video: How to Back Up and Format Your MicroSD Card on Your Samsung Galaxy SIII
Note: this post has been updated 2/11/17 for accuracy.

