Now that you’ve removed the SIM card from your phone, it’s time to learn how to remove Your microSD card. The microSD card holds a lot of your phone’s data such as pictures, contacts, apps, and videos. Before you format the card, you should back up the card first; we’ll get to that in the next section. The first thing to do is to get the card out.
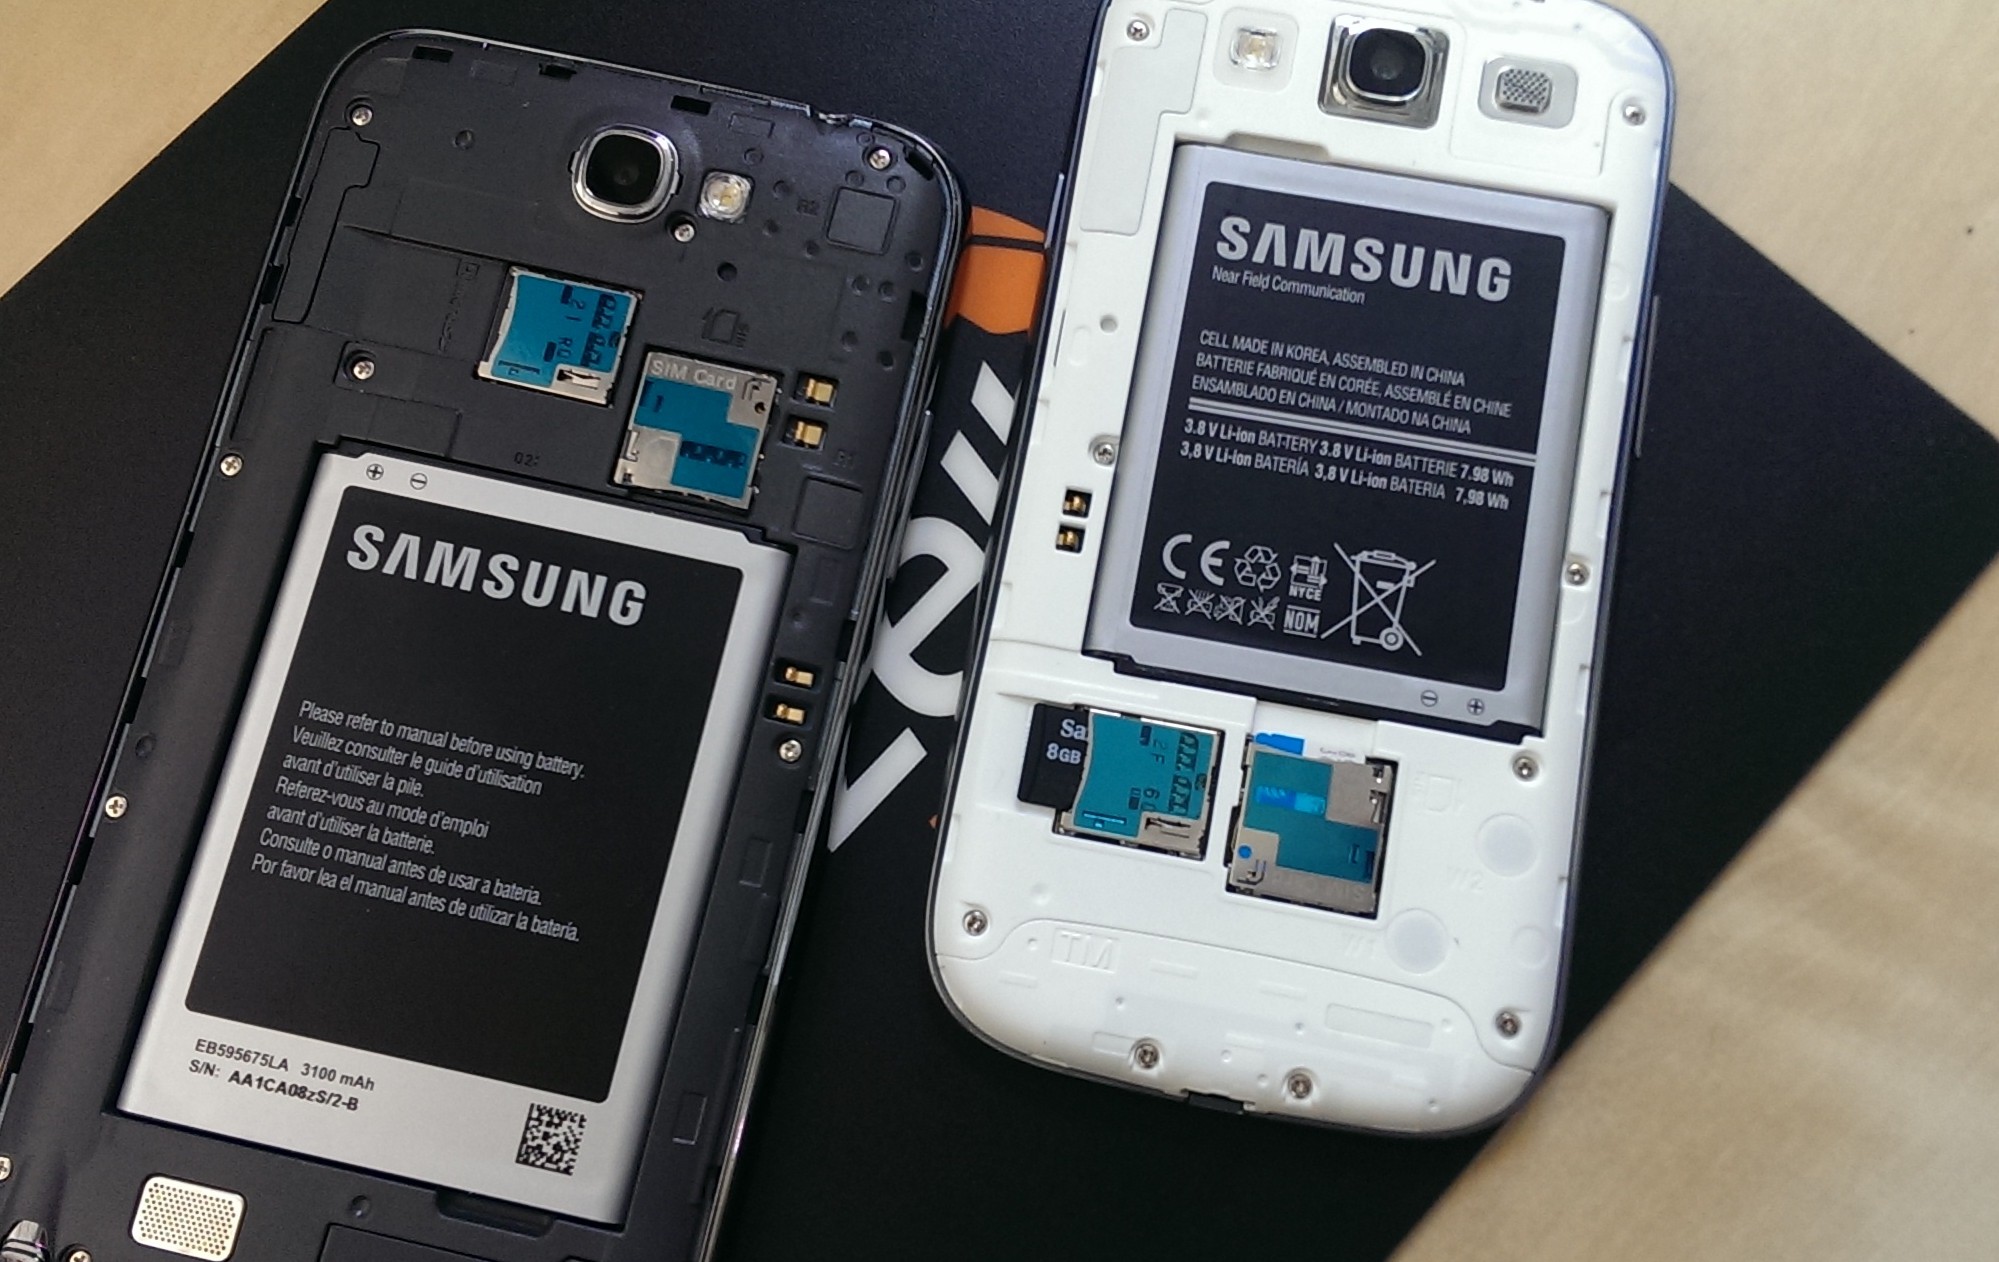
To access the card, first open up the back of your Galaxy smartphone device by removing the back cover. Be careful when removing the cover, following the instructions in your owner’s manual for proper removal; the back covers on most Samsung devices are made of plastic and may crack if not carefully removed. You will also want to keep an eye out for the small plastic tabs that secure the cover onto the device; if these become damaged or bent, you may need to purchase a new back cover.

The microsSD cards on the Galaxy S II and S III are located below the battery, to the left of the SIM tray. On the original Galaxy S and Galaxy Note (I & II), this card is located above the battery next to the SIM tray. To remove your microSD card, gently pushes in until you feel and hear a click release. The card should now be nudged out by a few millimeters. Now you should be able to slide your card out and fully remove it from your device. Once the card has been removed, you can next move on to backing up and formatting the card.
[cf]skyword_tracking_tag[/cf]