That rigorous hike you took last weekend, the new food place down the block or even your little niece’s birthday party: so many opportunities arise for photos almost every day. While it seems easy to locate, position, and shoot, smartphone cameras hold much more value to them than just another little camera. We’ve got ten helpful little tricks to add to your own photography skill set, all of them being near just-as-easy as simply taking the picture.


1. Natural light is your friend.
Save the flash for the paparazzi. Natural lighting is always more advantageous for phone photography, especially for outside events. Aside from the obvious moments, such as night-time shoots, it’s best to utilize the organic light around you for the most authentic and untouched look.
2. Use the grid tool.
The rule of thirds plays a major role in taking captivating pics. Most phones feature a grid tool option to display a subtle set of lines, allowing for a more balanced shot. If your phone isn’t equipped with a grid tool, there are plenty of apps that can help you out.
3. Be wary of camera placement.
Ever noticed how the iPhone camera is off to the side instead of dead center like most phones? Although this was thought to have been created for easier handling, it serves as an obstacle for those with intrusive, shot-ruining fingers. Being cautious of where you’re pointing that camera and the position you hold the phone in makes all the difference with the end product.

4. Activate burst mode.
Nothing is more frustrating than staring at a picture and realizing if there was half a second more or less with shooting, something would have been just right. Give yourself options with burst mode. This extremely handy tool allows for a rapid fire of pictures, making it opportune for those action shots and bumpier environments.
5. Swipe left (and right) on that lens.
What may look like a blurry photo at first glance could be a decent shot with a dirty lens. Before you snap, take a quick second to check your camera. Running a clean cloth over it can instantly improve your photo quality.
6. Move your feet, not your zoom.
It’s time to admit to laziness when it comes to close up shots. It’s pretty easy to drag a finger across a screen to get a closer look at a subject, but most don’t realize that the quality decreases. Zoomed-in pictures can get fairly grainy, whereas simply picking up your feet and physically getting closer provides much better clarity. If you’re shooting for Instagram, check out our guide to shooting Insta-worthy masterpieces.
7. Tap that (focused subject).
Did you know it only takes a simple tap to focus a picture on your phone? You can add the right amount of exposure and sharpness to a photo by tapping the desired subject.
8. Edit > Filter.
It’s easy to associate editing with filters, but physically editing your photo rather than slapping a filter on it makes a world of difference. Most phones will have editing options selectable on the image in its library, allowing the photographer to alter just about any aspect. Filters work wonders when you’re in a pinch, but they also usually sacrifice quality.
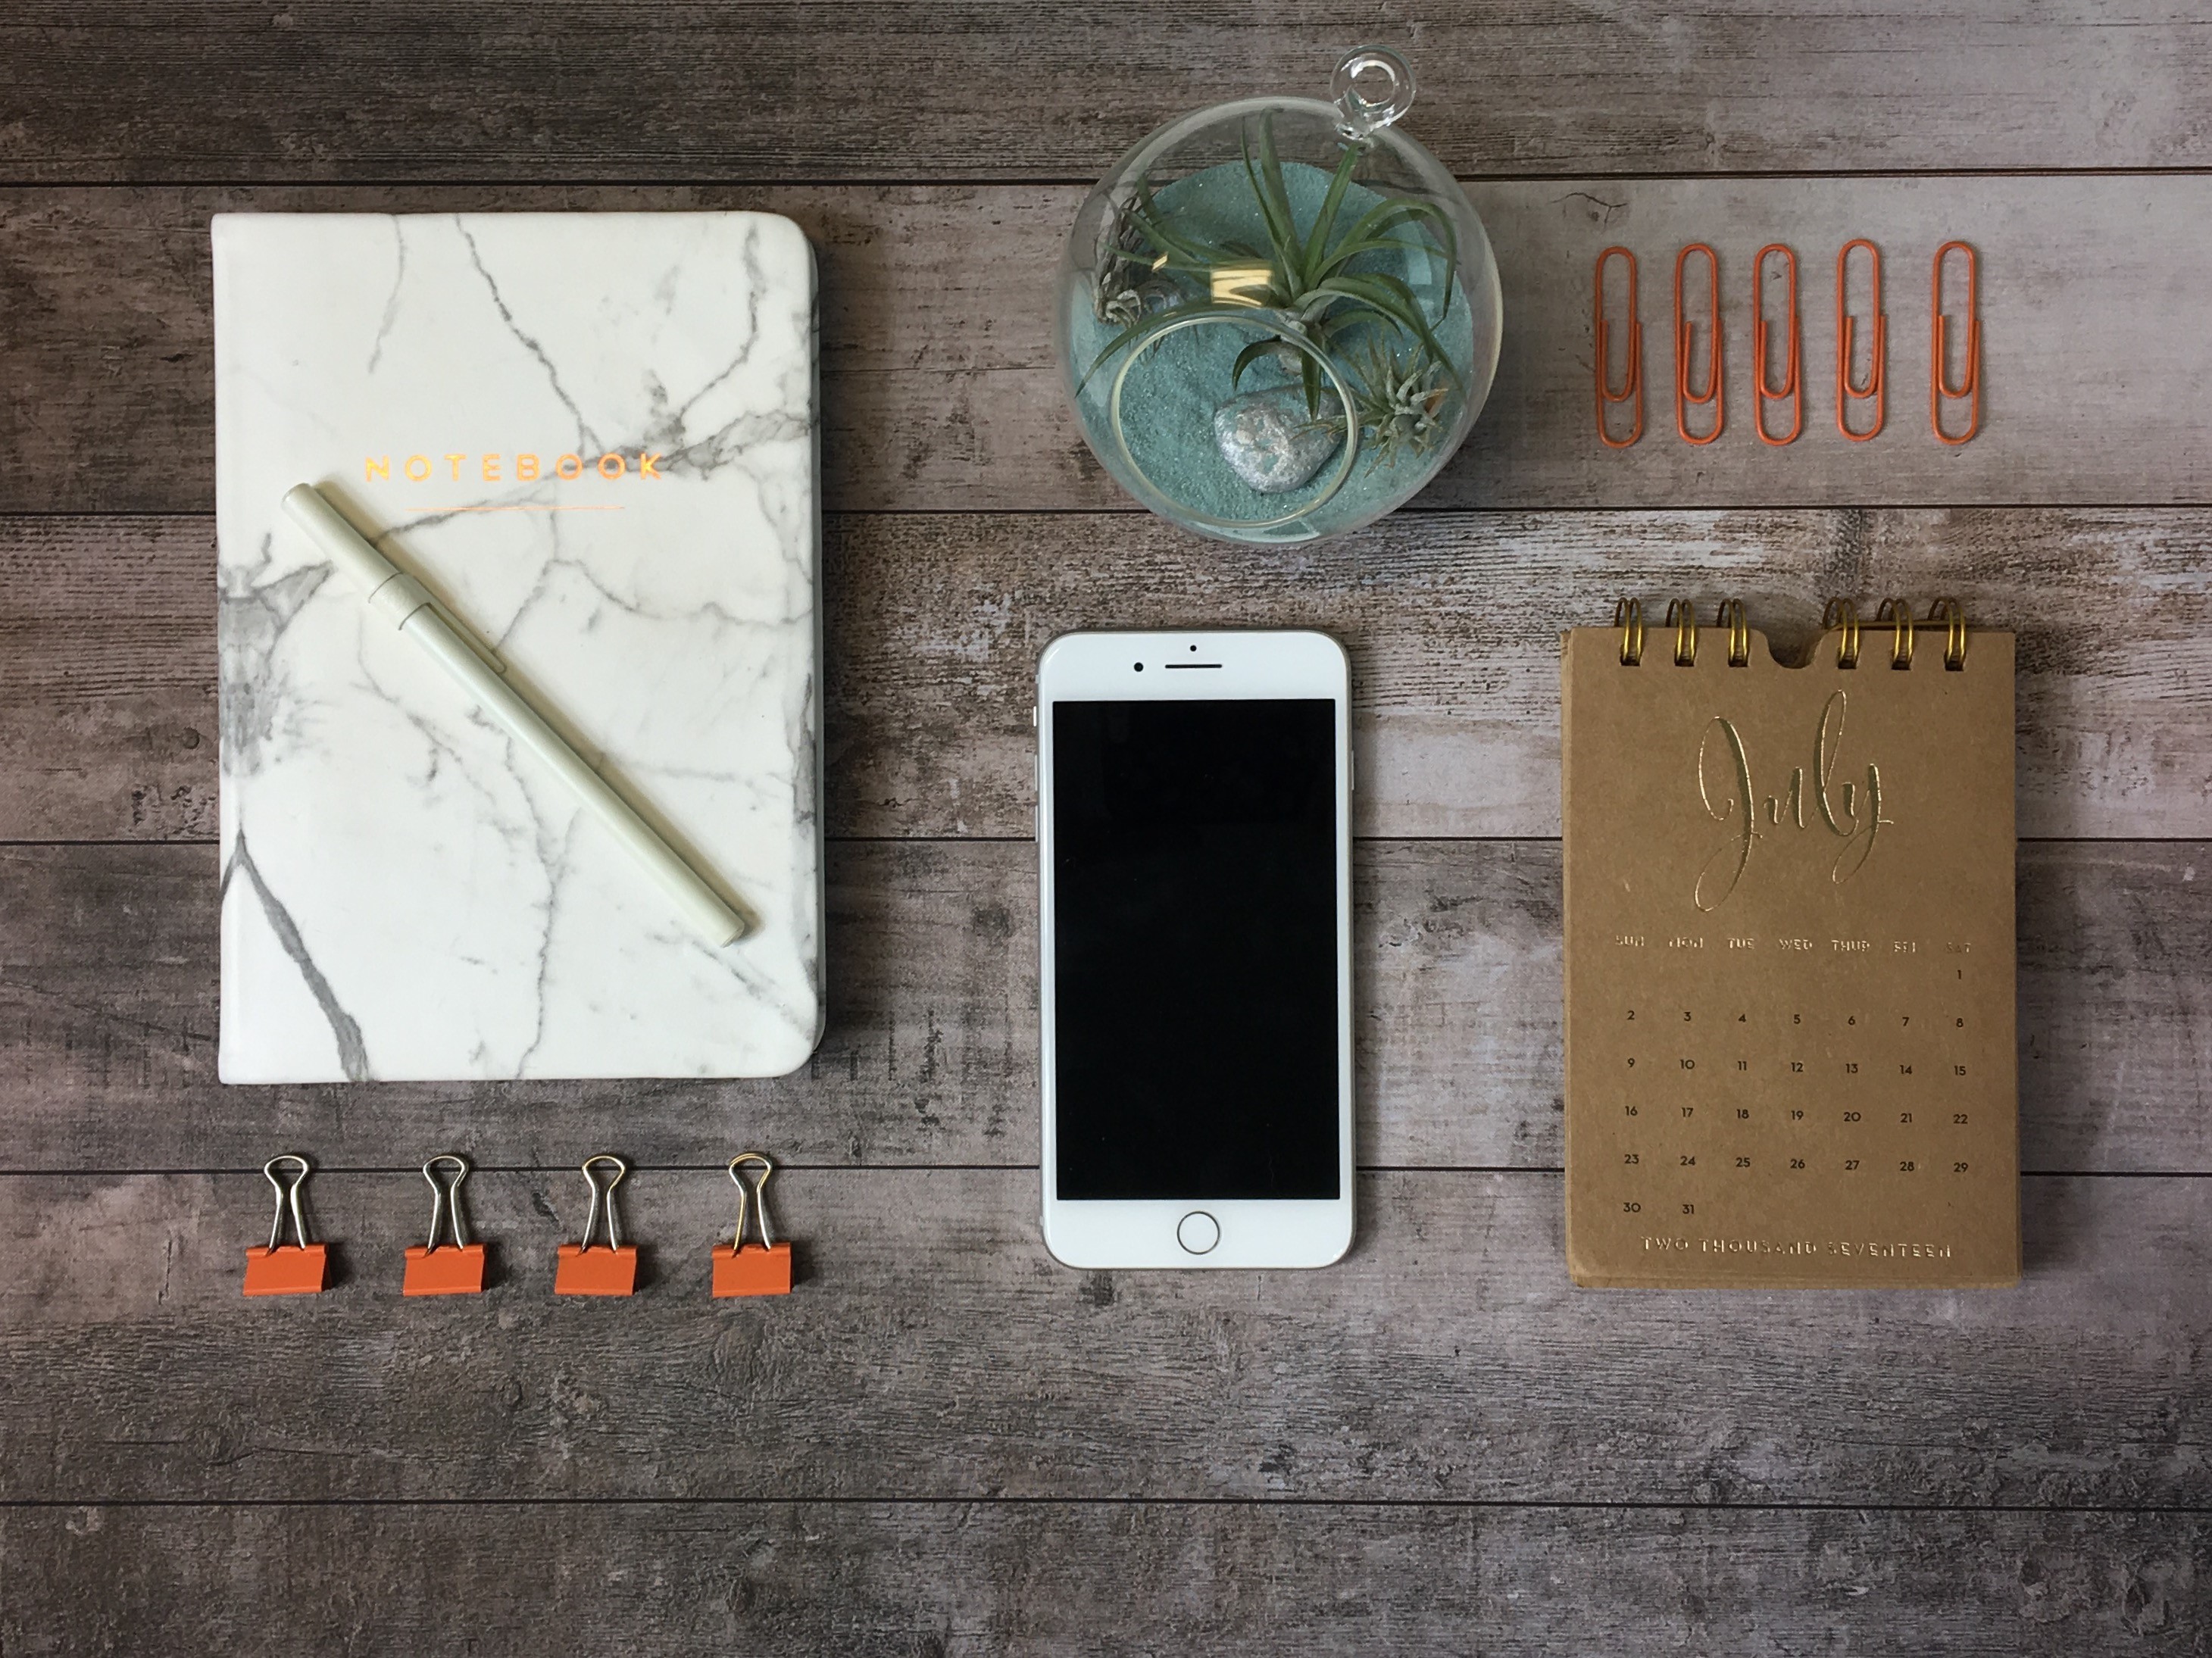
 9. Use negative space.
This more of a style-preference suggestion, but nonetheless helpful to those looking for a clean aesthetic for their photo. A simple neutral background not only makes the subject pop; it also balances and keeps the viewer engaged without distraction.
10. Choose a new perspective.
Feel like your photos are all starting to look the same? Switch it up with a new perspective. Stand on a chair, lay on the ground, or even shoot upside-down. A fresh take on even the most unassuming objects and places can create an entirely new attitude in your photos.
If you’re looking to upgrade to a newer phone, check out our inventory of gently used smartphones.