If you had the choice, you would probably just show someone how to upload a photo to Instagram rather than text out step-by-step instructions, right? With the screen recording feature available on iOS 11, you can! This handy tool is perfect for showing a friend how to navigate through anything on their freshly updated iPhone, iPad or iPod touch.
Screen Recording on iOS 11


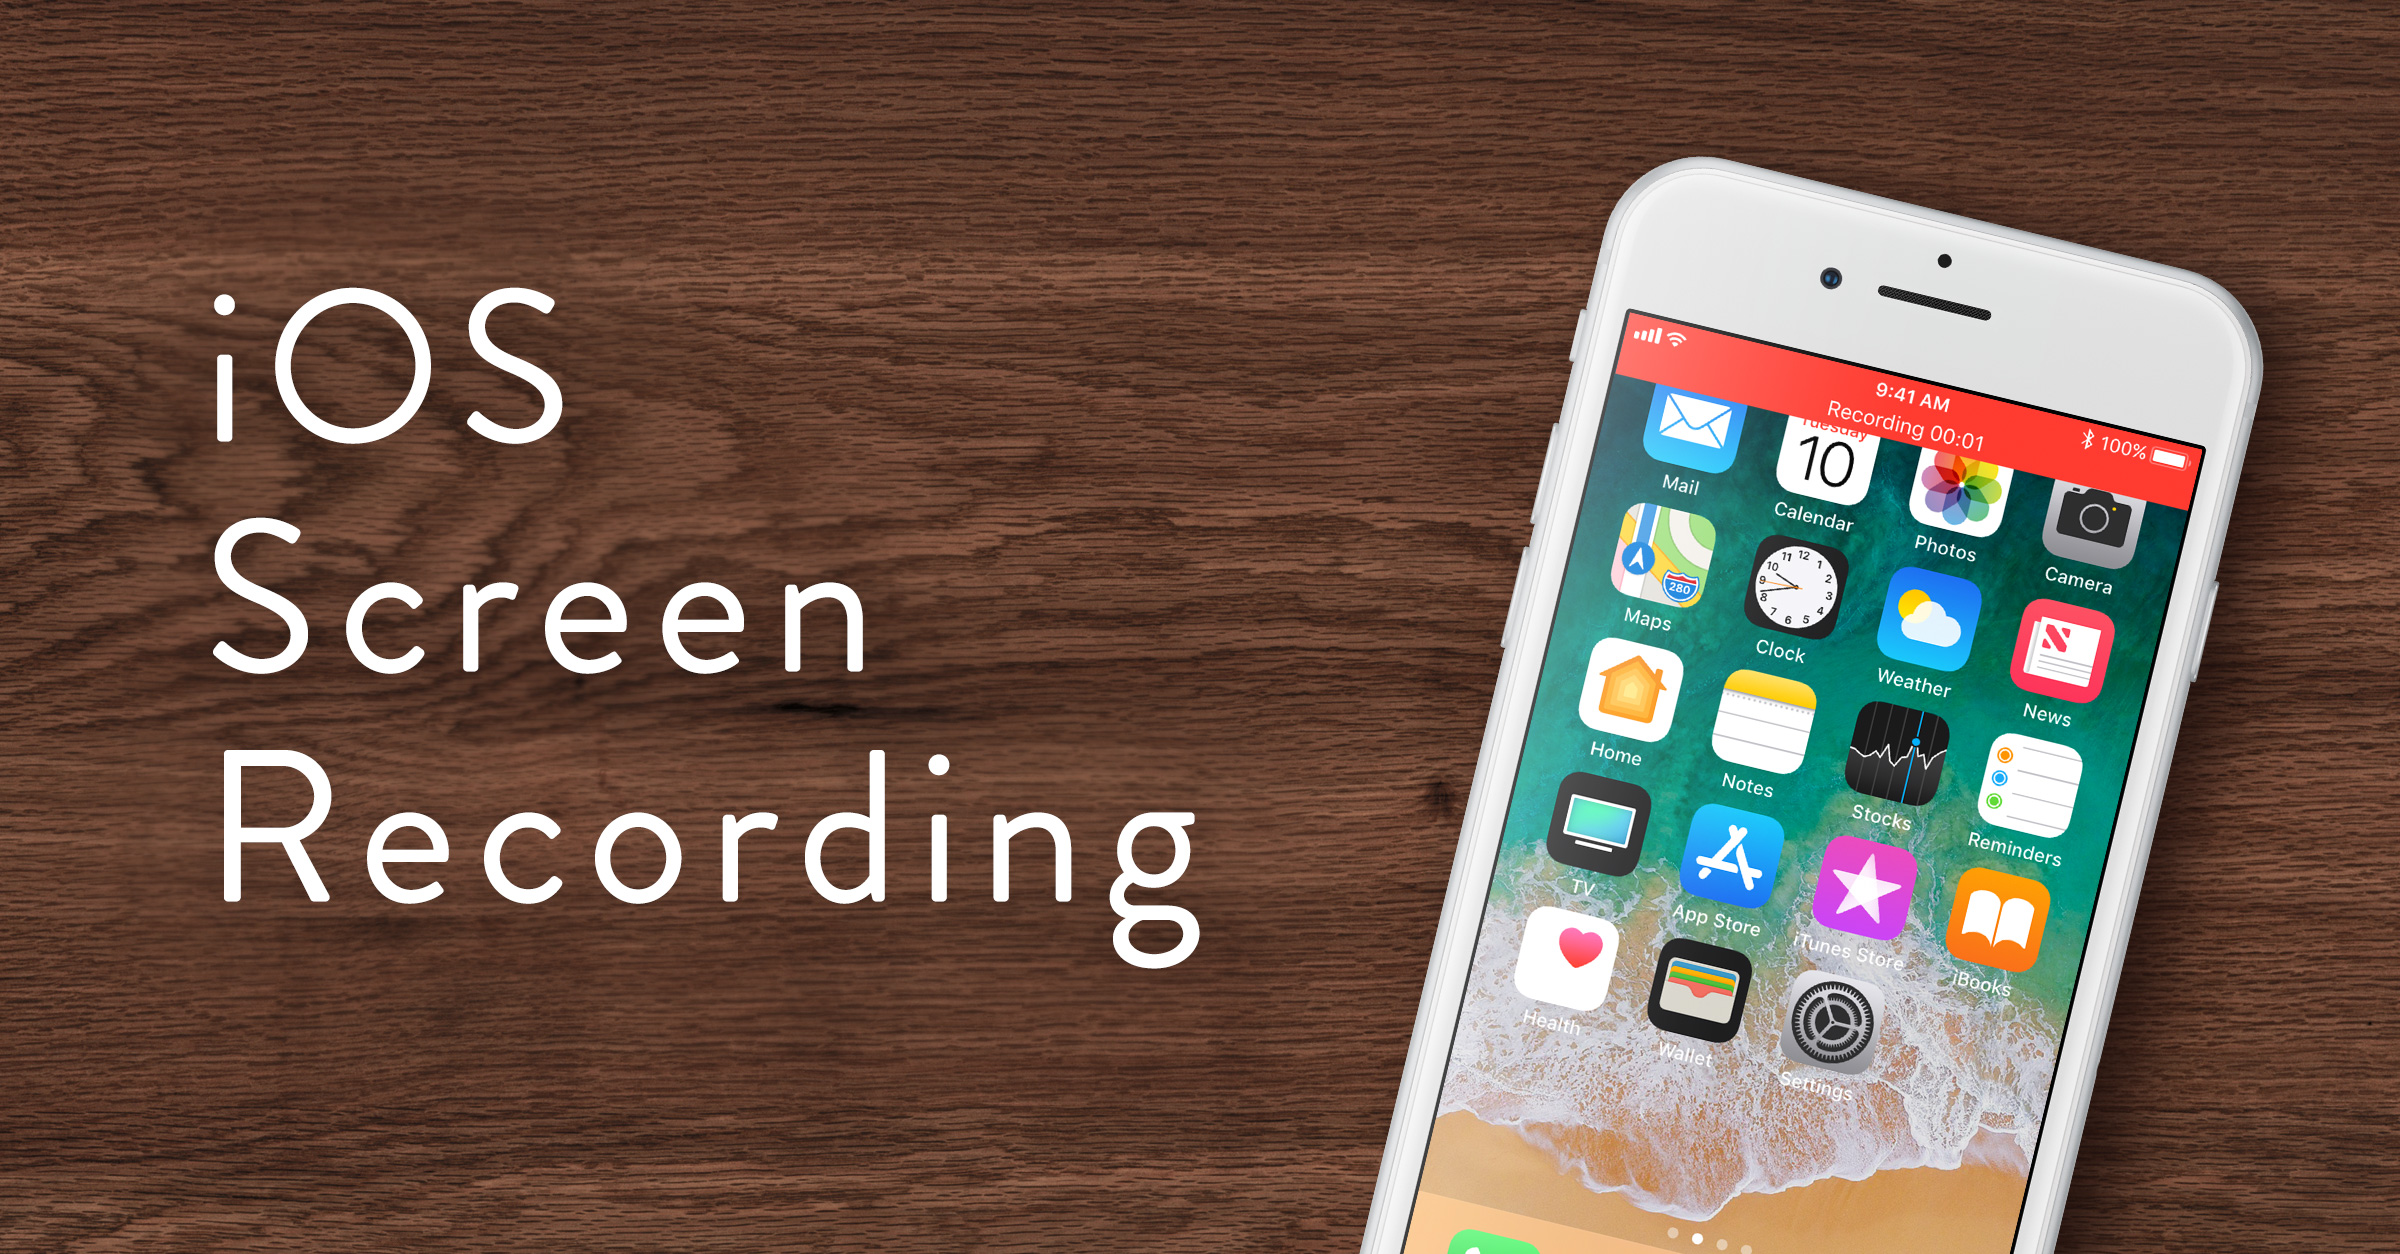
For devices that automatically have the screen recording tool in the control center, simply swipe up from the home screen and tap the button on the bottom left. This should be available on the iPhone 8, 8 Plus and X automatically.
If you don’t see the record button, fear not! You can add it from the control center as long as your device is updated to iOS 11.
- Go to your Settings. Tap Control Center and then Customize Controls.
- If you scroll down, you’ll see a green plus sign symbol next to Screen Recording. Tap to add to your Control Center.
- Swipe up to access your Control Center. You should see the recording button now (a circle with a smaller circle inside).
- Tap the Screen Record button to initiate the countdown to recording. You’re now recording every action shown on the screen.
- To stop the screen record, simply swipe up to the Control Center and press the record button again. You’ll notice that the red recording bar at the top of your screen will stop.
- To access the recording, open your Photos app. It will automatically save as a video.
The next time you received the dreaded, “How do I do ____ on my phone?” text, just remember this helpful guide. If you’re interested in purchasing an Apple device for less, check out our selection of gently used Apple tech here.